The Label Designer provides an easy to use, drag and drop, point and click user interface for designing any printed document.
Before describing the designer you should understand what we mean by “label”. See the barxui Label definition here.
Tools
The toolbar display will update depending on the current state of the design and the items that may be selected.
| Item | Description |
|---|---|
| New Label | Create a new blank label. |
| Save | Save the current design. Use the drop down option to select Save as (make a copy) and Revert. The Save button will be red when there are unsaved changes. See the section below on Unsaved Labels for more explanation of saving labels. |
| Print the current label. | |
| Cut, Copy, Paste, Delete | The usual editing operations, applied to the selected shape(s). |
| Undo & Redo | Revert changes or redo reverted changes. These only applies to the current session on the label. If you open another label, undo will be cleared. |
| Show/Hide Grid | Display a grid on the canvas to aid in alignment of shapes. Use the drop down option to select 2mm, 5mm or 10mm grid size. Once activates, the button will change to Hide the grid. |
| Snap | Align the currently selected items to the grid (whether the grid is visible or not). |
| Size | Size the selected shape(s) to the grid size. |
| Group/Ungroup | Group selected shapes or ungroup a selected group. |
| Alignment | Align two or more selected shapes. |
| Zoom | Zoom the view or reset to design to best fit the available space on your screen. |
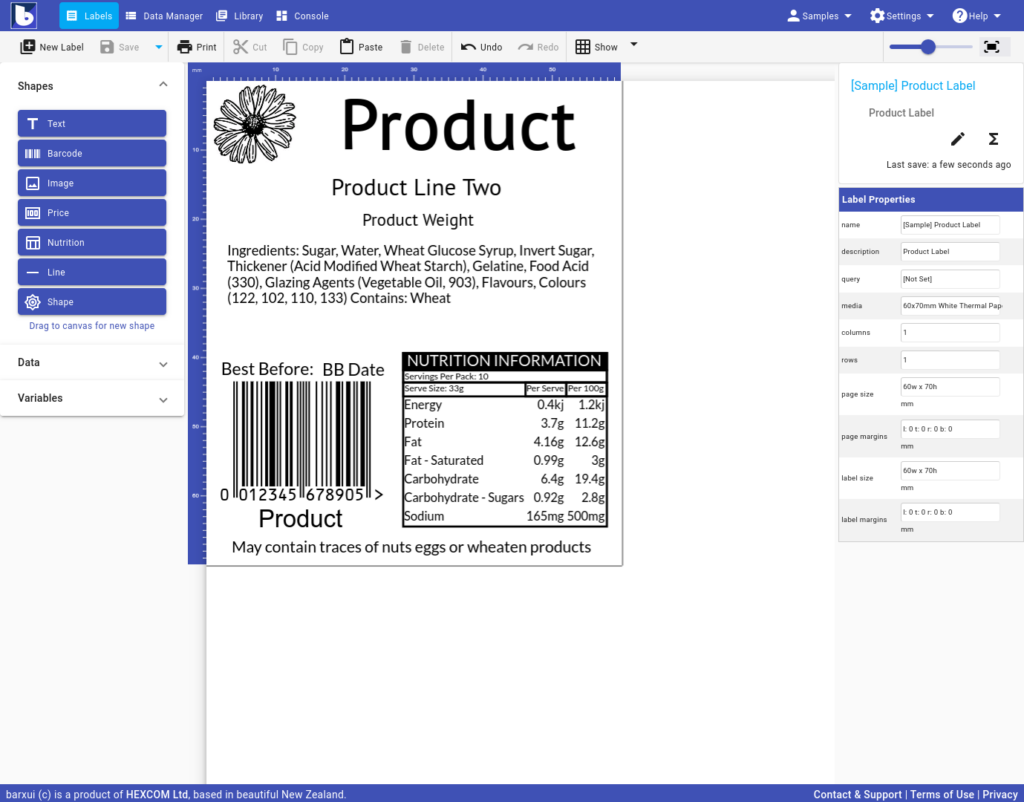
Design Canvas
The main drawing area of the designer – otherwise known as the canvas – is where you ‘paint’ your label.
The design of your label appears on a canvas. There are rulers on the top and left of the canvas to aid in positioning. As you select and move shapes on the canvas you will see indicators on the rulers.
The canvas displays a boundary to show the extent of the printed area of the label. Depending on the size of the label, your screen size and zoom setting, you may need to scroll the canvas horizontally or vertically.
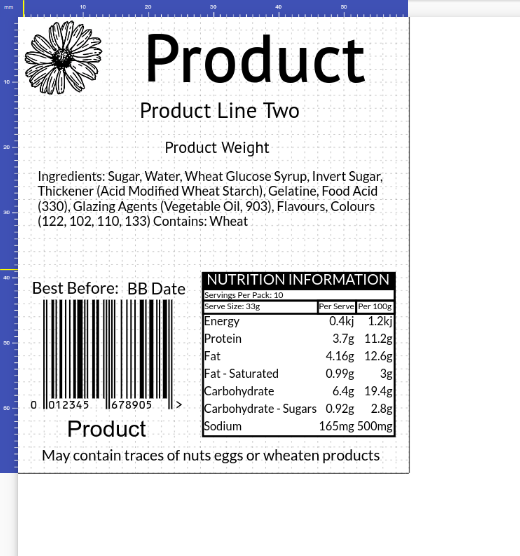
Anything outside of the label boundary will not appear on generated labels but will still be saved with the label design. This is a handy area to leave notes or shapes you may want to use later.
Toolbox
The toolbox is the panel to the left of the canvas.
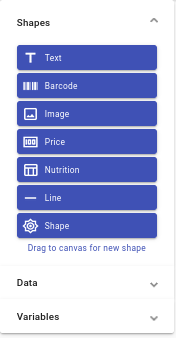
Shapes are the basic elements you add to the label by dragging them onto the canvas and setting properties to control their appearance. For more information see the sections below.
Properties Panel
To the right side of the canvas there is a properties panel. This will display the properties of the label or the selected shape.
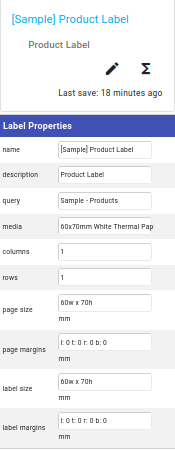
At the top it displays the label name and description. You can click the pen button to modify the name and the other label properties in a pop-up window. The sigma button is used to modify the label variables. Some of the property values can be updated directly in the property panel, e.g. top & left position.
Note: All measurements are millimetres. You can also use fractions of millimetres for precision. e.g. 11.25.
Creating Labels
You should begin by defining the label dimensions in the properties dialog. This is accessed when you create a label or from the properties panel.
Unsaved Labels & Saving Your Work
While updating a label design, every change you make is automatically saved as a draft on the local computer. This means is you close the web browser or navigate away from barxui or even to a different view in barxui, you will not lose any changes. However, the changes will not be saved (published) for general use until you press that Save button.
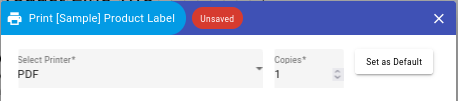
Unsaved labels can be printed from the designer only. This allows you to preview your label without committing the change for everyone.
To indicate this state, the Save button on the toolbar will be red:

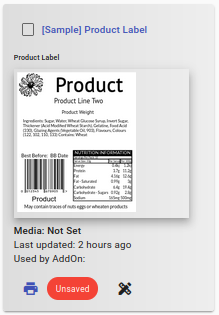
and the Print dialog when used from the designer will display an Unsaved tag in the title:
and the label manger will display an Unsaved tag :